Nothing But Organic

Pasture Raised
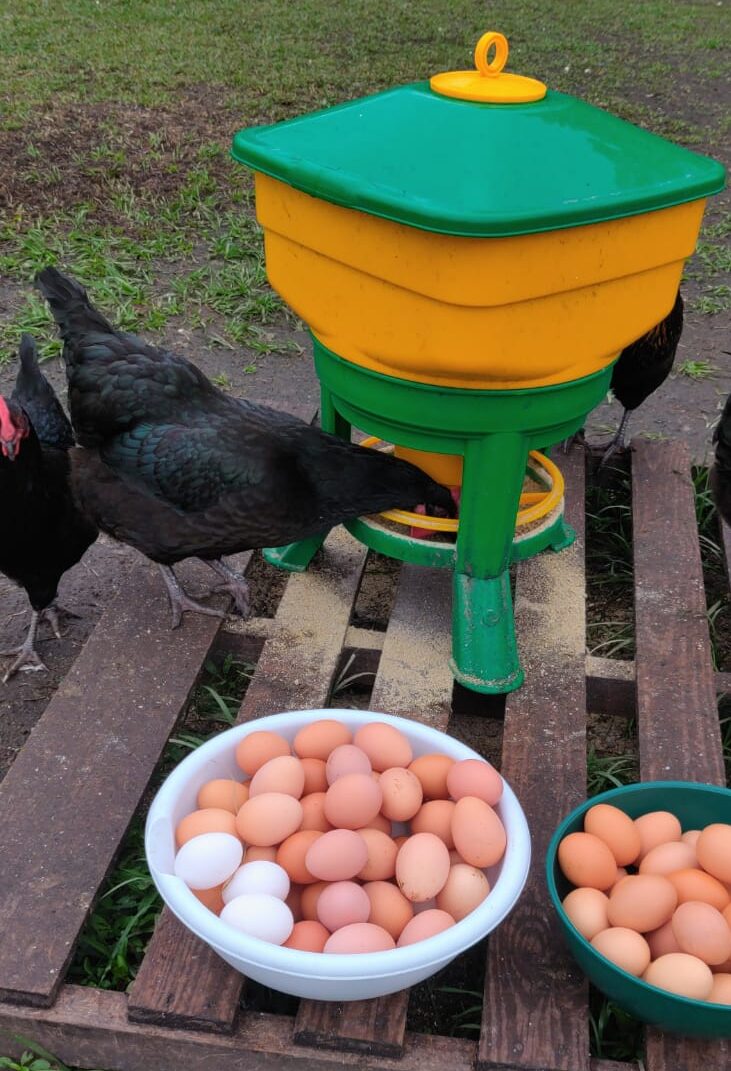
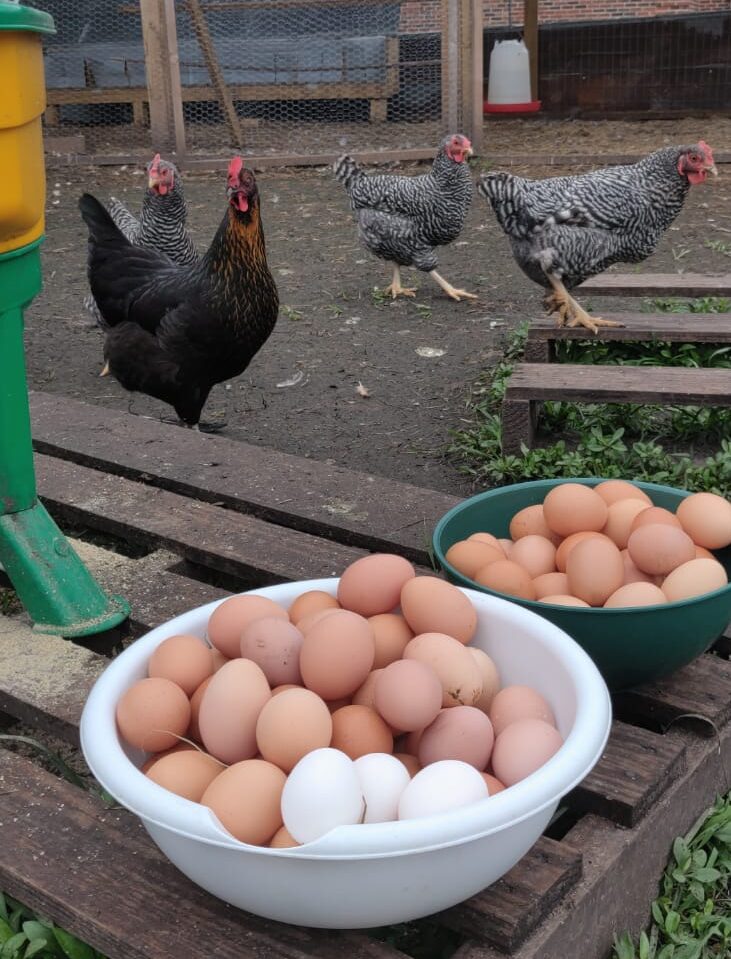
Pasture raised chickens are nutrient-dense as a result of the fresh and natural diet of the chicken. Compared to cage free or even barn raised birds the pasture raised chickens are given vitamin and protein rich soil where they hunt for seeds and insects.

Organic
Being raised naturally and not treated with hormones and antibiotics they have more micronutrients than conventional eggs.

Sustainable Farming
As oppose to indoor confinement the pasture raised birds are superior and produce healthier eggs. A pasture raised chicken also has the ability to graze, manage their own feed and spread their own manure causing less work and equipment needed from the farmers.
Incubating and Hatching Chicken Eggs Guide

The Incubator
Your incubator should be set up and running at least 24 hours prior to setting your hatching eggs inside. This period will allow the environment inside of the incubator to stabilize and give you time to make any necessary adjustments before you place the eggs inside to begin the incubation period.
Location is important! Locate your incubator in a room that maintains a constant temperature, is free from drafts, and away from windows and direct sunlight. Also, make sure that your incubator is located where children and pets will not bump or disturb it during the 21 day incubation period.


Environment
It takes 21 days to hatch chicken eggs. In order for chicks to develop properly, you will need to make sure your incubator is equipped with a very accurate thermometer and hygrometer (to monitor the humidity). The following are the recommended settings you should maintain for a successful hatch:
-
Temperature
-
Forced-air incubator (with a fan) 99.5 degrees F (acceptable range 99-100)
-
Still-air incubator (no fan): shoot for a range between 100 and 101 degrees F
-
-
Humidity
-
First 18 days the recommended range of relative humidity for chicken eggs is 45-50%
-
Final 3 days increase humidity to 65-70%
-
It is not as critical to maintain a precise humidity and you should expect the humidity to fluctuate. During winter months you may find that the humidity is more difficult to maintain and in the summer you may struggle to keep the humidity low enough. Follow your incubator manufacturer’s directions for how best to maintain humidity. Generally, you add humidity by increasing the surface area of the water reservoir and you lower humidity by allowing more fresh air intake.

Set the Eggs
You should NOT set shipped eggs directly into an incubator upon their arrival. They need 24 hours to allow the yolks to settle and to reach room temperature. Setting cold eggs in a warm and humid incubator will cause the eggs to crack and the embryos will die. If you are not ready to begin the incubation period on the day that your eggs arrive, you may “hold” your shipped eggs for up to 10 days.
Before you handle hatching eggs always wash your hands thoroughly to prevent bacteria from entering through the porous eggshell. Place the eggs into a cardboard egg carton with the pointed end down and set in a quiet spot in the same room as the incubator. If you are holding the eggs for longer than 24 hours before beginning incubation, prop one end of the carton up a few inches. Rotate which end is propped up approximately every 12 hours. This helps prevent the embryo from sticking to the shell membrane.
When you are ready to set the eggs into the incubator, mark an X on one side of the shell using a soft pencil, and an O on the other end. During the incubation period, you will rotate the eggs. Marking the shell helps you visualize that they have been turned properly and frequently. Even if you have an automatic turner in your incubator, marking helps you ensure that the turner is working properly.

Incubating, Days 1-17
The first 17 days you will turn the eggs by hand (if you do not have an automatic turner) at a minimum of every 8 hours. Better hatch rates are usually the result of more frequent turning, but the trade-off is every time you open the incubator it loses heat and humidity. Many people find that hand turning every 6 to 8 hours to be the “sweet spot.” If you do not turn the eggs, the tiny embryo can stick to the shell membrane and may die.
During the first 17 days, you will also monitor the temperature and humidity, adding water to the water reservoir as necessary to maintain the humidity. It is good practice to “candle” the eggs (using a high-powered light source to view the growing embryo). Day 7 and Day 14 are the best days to observe changes in the embryo. On Day 7 you should see a small dark spot with a few blood vessels radiating from it. The 7-day old embryo will resemble a spider on the yolk. At Day 14, the embryo is much larger and it should be difficult to see through the egg when candling, but you should be able to see through the air sac at the large end.
If any embryos appear to not be developing at Day 14, remove and discard these eggs to avoid a rotten egg exploding inside the incubator and ruining the rest of the hatch.

Lockdown, Days 18-20
We call these final 3 days “lockdown” because you will not open the incubator until after all chicks have hatched and dried off. On day 18 of the incubation period, you should stop turning the eggs by hand or turn off and remove eggs from the automatic turner. The chicks are nearly fully developed and they will position themselves inside the egg to prepare for hatching. You also want to increase the humidity to around 65-70%. Again, the humidity is a range and not an exact number. The day before the hatch you should prepare their brooder to receive the chicks.


Hatch Day
On day 21 you will begin to hear peeping from the inside of the eggs. Some of the eggs will likely begin to rock around a bit as the chick “pips” the shell. Hatching takes a lot of energy and it will be a slow process usually taking a full 24 hours for all chicks to complete the hatch. Make sure that the chicks are completely dry and fluffy before you open the incubator to move them into the brooder. The first hatchlings will be okay to go 24 hours without eating or drinking while they wait for all chicks to hatch. Some chicks may struggle to hatch, but do not assist.
Before you handle hatching eggs always wash your hands thoroughly to prevent bacteria from entering through the porous eggshell. Place the eggs into a cardboard egg carton with the pointed end down and set in a quiet spot in the same room as the incubator. If you are holding the eggs for longer than 24 hours before beginning incubation, prop one end of the carton up a few inches. Rotate which end is propped up approximately every 12 hours. This helps prevent the embryo from sticking to the shell membrane.
When you are ready to set the eggs into the incubator, mark an X on one side of the shell using a soft pencil, and an O on the other end. During the incubation period, you will rotate the eggs. Marking the shell helps you visualize that they have been turned properly and frequently. Even if you have an automatic turner in your incubator, marking helps you ensure that the turner is working properly.
